
We are focused on manual coffee brewing methods here, Everybody loves their coffee different and each method will give you a different tasting cup.
Do you enjoy berry sweetness or are you a more earthy a nutty type of person?
Even though everybody likes coffee in their own unique way.
There are a few manual coffee brewing methods that I will go over as well as some tips to give you a better cup of coffee.
When it comes to making a great cup of coffee the brewing method used is just as important as how the beans were grown and roasted.
It’s part of a triangle that makes a great tasting coffee.
A cup of coffee made from a sub par bean but brewed correctly is better than a cup made from the perfect bean brewed badly.
So, what is going on during the brewing process?
No matter the method, when brewing, you are simply exposing the grounds to water.
You can brew coffee with room temperature or cold water if you want, the brew time will just increase.(This is how cold brew coffee is made.)
The water is extracting oils and flavors from the bean, pulling out all the things we love like its flavor and caffeine. This is what makes coffee…well, coffee.
Also, each different brewing method will alter the taste of your coffee as well. You will get a different tasting cup of coffee made from the same beans if you brewed it with a drip maker compared to a french press.
So, finding out your preferred taste is a REALLY big step in brewing better coffee. It’s one of the most fun and exciting things to do also.
Things really start to change as you begin to see the coffee world in a much larger scope and realize all of the different flavors you can have with coffee.
Manual Coffee Brewing Methods
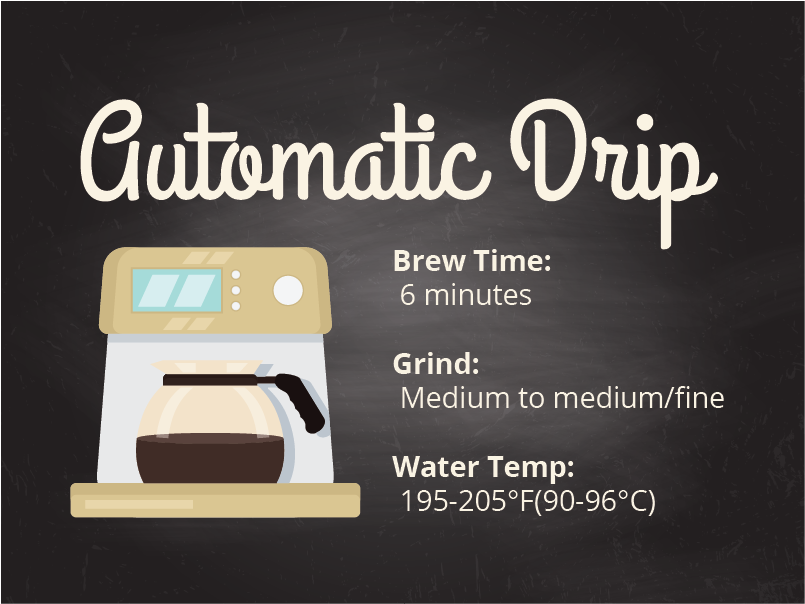
Automatic Drip Coffee
Instructions:
- Weight coffee beans(10 grams for every 6 ounces of water)
- Use a Medium-fine grind
- Fill machine with water
- Pre-wet your filter to remove any paper taste it may add(discard water)
- Add your grounds(give a good shake to level them out)
- Press on and brew(should take right around 6 minutes)
This is what most people picture when you say the words coffee pot. I’m willing to bet you have one your counter now.
Everyone knows how to use these. They are pretty simple, put in a filter and add the right amount of grounds, pour in the water and press go!
That simplicity comes at a cost though! You lose a significant amount of control. You are relying on the machine to evenly soak your grounds with water at the appropriate temperature.
Getting your water temperature and brewing time to the exact marks you want them at becomes very difficult in cheaper models.
These coffee makers simply heat the water with an electric coil and use a shower head sprayer to distribute the water over the grounds, hopefully covering them evenly. Major emphasis on hopefully.
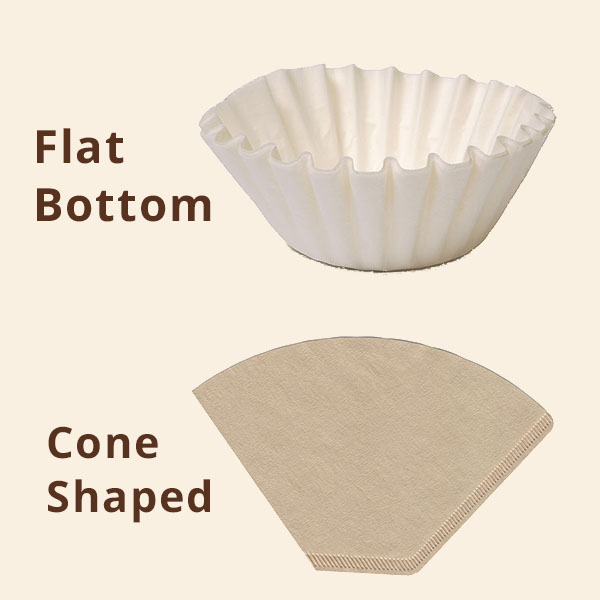
These machines typically have either a cone shaped filter or, one with a flat bottom.
A cone shaped filter will need a slightly finer grind than a flat bottom filter.
These types of machines are so popular because of the convenience that they offer. Not only, are they super easy to use but you can set your coffee up the night before and have your coffee brewed and waiting for you!
That’s pretty awesome, however…
If you are letting your coffee grounds sit over night they are being exposed to all of that oxygen.
Oxygen robs coffee of its flavor!
So, this method has it’s pros and cons. If you’re looking for a better tasting coffee and you’re using this kind of machine you can simply grind fresh and add your grounds right before you brew.I bet you will notice a difference in flavor.
I bet you will notice a difference in flavor.
Or upgrade to some of the best Auto drip brewers.
Tips:
- To get your brew time at that perfect 6 minute mark you can adjust the amount of coffee you brew at one time. For example, if it took longer than 6 minutes to brew your pot of coffee try making a smaller amount and see if that changes your brew time.
- If your filter basket is overflowing when it’s brewing make your grind more coarse.
- You can check your coffee maker’s water temperature by sticking a thermometer into the basket as it brews. Just close the lid as much as possible to retain the heat.

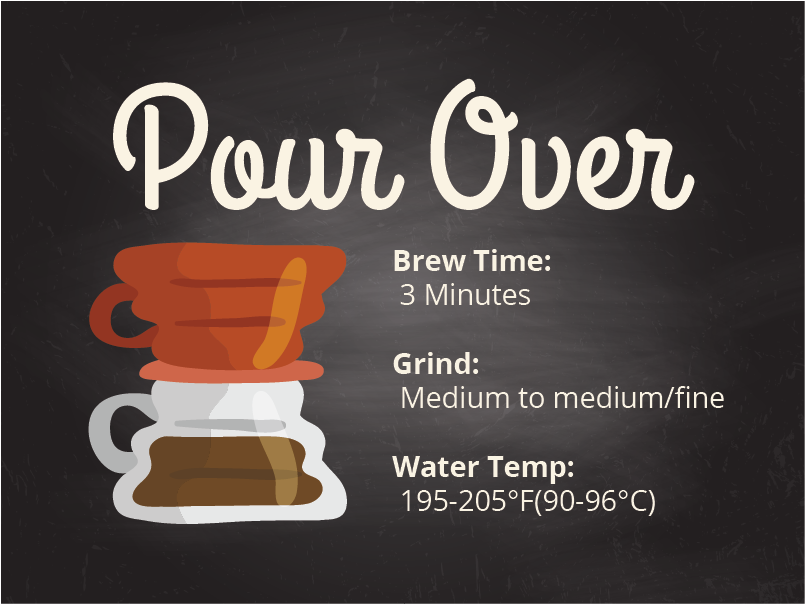
Manual Drip(Pour over)
Instructions:
- Heat your kettle to 190F-205F
- Weigh coffee beans(10 grams for every 6 ounces of water)
- Use a Medium-fine grind(personal preference)
- Using heated water, pre wet filter and carafe.(discard water)
- Add grounds, avoid packing
- Bloom your coffee(described below)
- Start timer
- Slowly pour your water in a controlled circular motion and aim for a 3 minute brew time
While this is less convenient than a drip machine, you will notice a much more flavorful cup of coffee using this method of brewing, This way removes a lot of that flat taste you get from cheaper automatic brewers.
You will need a few extra things to brew coffee with this method.
- Goose neck kettle
- Kitchen Scale
- Pour over maker
- Timer(use your phone)
This method is a lot more personal, you really get to feel like you are MAKING your cup of coffee. Control is the reason you get a cup with so much more flavor.
You can direct the hot water and steam exactly where it needs to go. This is where the goose neck kettle really, REALLY comes in handy.

Making coffee with this method is an acquired skill, at first, you will probably make some bleh tasting coffee.
But I promise, if you pay attention to the basics and fine tune them, you will get a great tasting cup of coffee like you have never tasted before.
Just like the auto drip machines, brew size plays a role in the final outcome of your coffee. More coffee grounds means it takes more time for water to pass through, increasing brew time.
One thing to notice about manual drip brewers is brew size, you can only brew 2-4 cups at a time usually.
You’re also looking for about a 3 minute brew time.
Also remember that grind size affects brew time, with manual pour overs your grind should be medium-fine. Generally speaking, your grind should be a little bit finer than if you were using an auto drip machine.
Of course, grind size is all personal preference because it will affect the flavor of your cup. Find what you like best.
Another aspect of control you have with this coffee brewing method is the ability to “bloom your coffee”
Coffee blooms when hot water touches freshly roasted and ground beans. The beans off-gas, releasing Co2.
You should always bloom your coffee when possible. Slowly start pouring your water from the outside edge of the coffee in a slow circular motion towards the center.
You don’t really want that water to drip through but if a little does, no big deal. Let the grounds sit for 30 seconds to a minute.
Allowing the beans to settle lets us extract more flavors from the beans.
After the coffee bloom, begin measuring your water with your scale as you pour in slow circular motions, Avoid over flowing.
Some people prefer to stir their coffee grounds while brewing and others don’t. Try both and see what you like best.
Tips:
- Brew and brew again! This is definitely a skill and like any skill needs to be worked on. Pay attention to brew time, brew size, water temperature and grind size.
- Some people prefer to stir their grounds during mixing while other say to let them be. I say give it a try and see what you think.
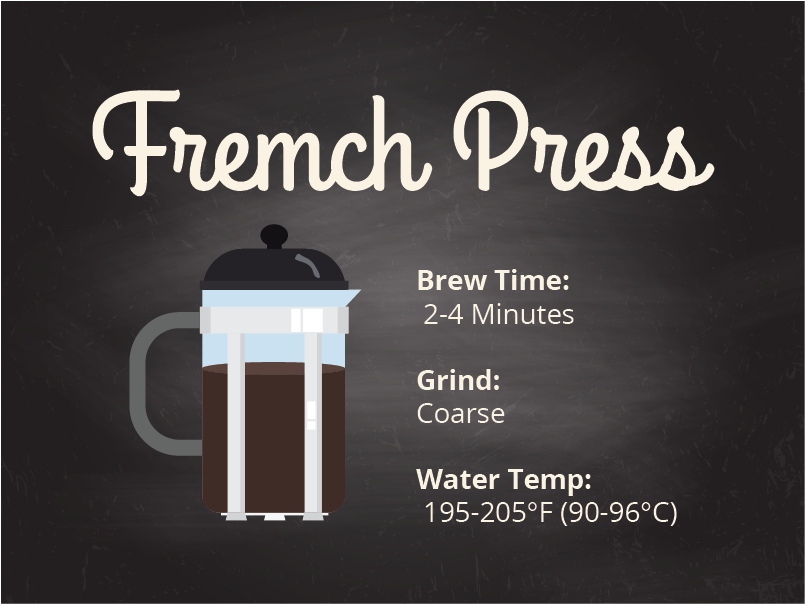
French Press
Instructions:
- Heat water to 195F-205F(Warm up extra than what you need)
- Weight coffee beans(10 grams(2 tablespoons) for every 6 ounces of water)
- Preheat your pot by adding some water and swirling first.(discard water)
- Grind your coffee to a coarse grind and add to your french press
- Bloom your coffee by pouring half of your water in first(let foam rise and fall)
- Set a timer for 4 minutes and pour the rest of your hot water in.
- Place the cap and plunger on
- Using the plunger hold the grounds just under your water.
- Once each minute agitate the grounds.
- At 4 minutes press all of the grounds to the bottom and enjoy.
This coffee brewing method is different in comparison to the drip style methods because it does not use gravity to pull the water through the beans.
Instead, your beans literally soak in still water, also known as steeping. Because of this different type of brewing method, your cup of coffee tends to taste a little different.
Coffee from a french press will have a bigger body and bolder flavor when you compare it to the drip style method of brewing. Some say the different flavor could be due to the fact that there is no filter involved to soak up extra oils that the water pulls out of the beans.
The only filter that the french press has is attached to the cap usually and it’s made of a fine mesh that very few coffee particles should squeeze through if you have the proper grind.
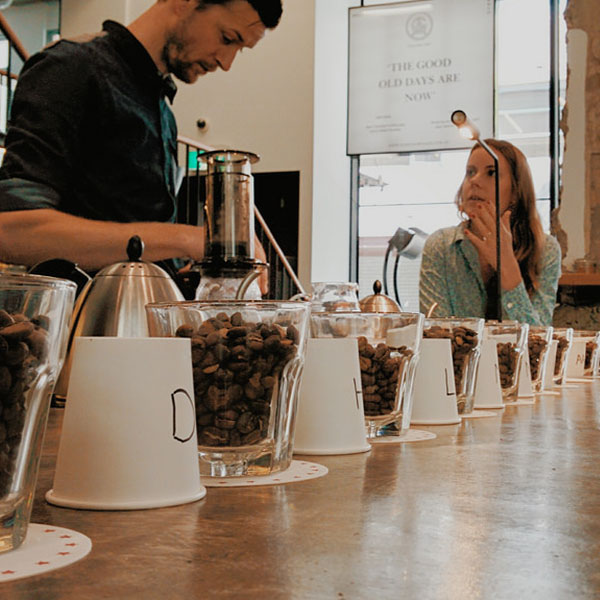
Coffee tasting professionals(Yes, that is an actual job, awesome right?) say that the french press provides a flavor most like the coffee cupping process.
For a french press you will want to set your coffee grinder[link to my review page] to coarse. If your grind is too fine, you will get a cup a quarter full of coffee grounds.
Some grounds will be in your final cup of coffee, that’s part of the brewing process but there is a point when it becomes too much.
Most french presses are constructed with glass. This gives an awesome view to the birth of coffee but it also allows for heat to escape very quickly. For this reason, like the manual drip makers , this method works best for smaller batches of coffee.
Tips:
- If you can’t stand the bits of coffee grounds in your pot you can try simply wait 30 seconds before pouring after plunging your coffee to the bottom. Let the grounds settle to the bottom and pour your cup slowly.
- You can also invest in a better, more consistent grinder
- If possible take apart your filter, tiny grounds of coffee can get stuck in between the grounds mesh filter and metal plate.If not cleaned those little stale pieces of coffee will give you an unwanted flavor.
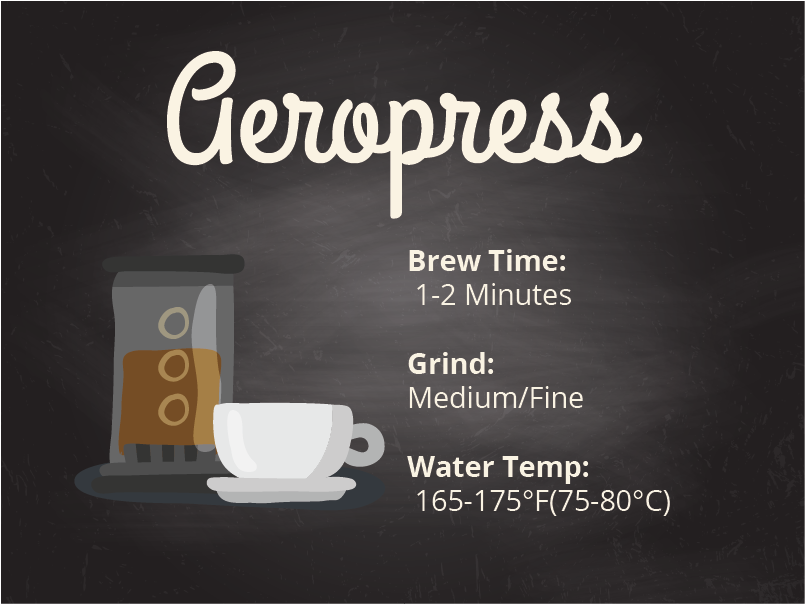 Aeropress
Instructions:
- For every 6 ounces of water use 13 grams of coffee(adjust to preferred taste)
- Medium/fine grind. A little more fine than a drip(sand consistency)
- Place filter in cap and prewet/preheat
- Add water at 175°F(80°C)(again personal preference)
- Stir for about 10 seconds
- Let 30 seconds bloom time
- Add remainder of water
- Press plunger down firmly
- Enjoy
The Aeropress is a newer invention in the coffee world, being invented in 2005. It uses a plunger, is inexpensive and offers a very delicious tasting cup of coffee.
Never thought the word plunger, inexpensive and delicious tasting would be in the same sentence.
The Aeropress uses a combination of pressure and steeping to extract the coffee’s flavor. This combination of brewing methods gives you a taste that is somewhere in between a drip maker and an espresso and completely unique to the Aeropress.
You place your coffee and water in the chamber. And use the plunger to force the water through the coffee into your cup.
There are two different methods of making coffee with an Aeropress, you can use it like the directions say or use what some are calling the inverted method.
Traditionally the chamber goes over your cup full of your coffee grounds and water. This allows for some of the water to drip through the filter while stirring.
The inverted method places the plunger on the bottom, with the chamber on top. This allows you to keep the exact amount of water you want in contact with the coffee grounds the whole time.
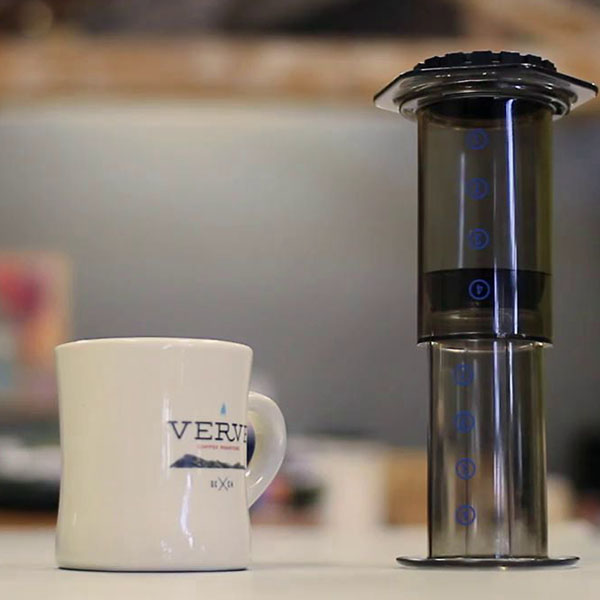
An inverted Aeropress, The maker is sitting on the plunger with the chamber on top.
After you have steeped the coffee to your liking you have to flip the Aeropress over with your cup so that you can then press the coffee into your cup.
A tip: You don’t have to invert the Aeropress to get these results, You can create a vacuum with the plunger using the brewer normally and this will not allow any of the coffee to drip through.
Some water will still drip through the filter as you stir, that can not be avoided when using the aeropress traditionally. but really it’s not a big deal.
Some claim that when using the inverted method oils that get extracted get pulled to the top. This means that when you place the cap/filter on and flip the aeropress, the first things to get forced through that filter will be the oils. The oil then coats the filter adding extra flavor to every bit of coffee that gets squeezed through it.
No matter the method(inverted or traditional) You’ll want to make sure you have a sturdy enough glass to brew with, you don’t want it to tip over. You’re the one that is applying the pressure to brew.
You are able to endlessly tweak your brew, there are so many variables that you can control with this little gadget. Steep time, pressure, Water to coffee ratio. Every little change you make will result in a different tasting cup and it’s a great feeling to have so much control over the taste of your coffee.
For instance, You can control the exact water temperature, you can choose to stir your mix once or twice or the whole brew time! I’m not promising that will give you a good cup of coffee but you could if you wanted to is what I’m saying!
Lots of people like add a portion of the water first and stir for at least ten seconds and then add the rest of the water.
Some people like to let it steep for about a minute here and others like to begin applying pressure right away.
Because pressure is being applied this speeds the brewing process, forcing the water through the coffee grounds.
People usually brew between 1-2 minutes. Doubling the brew time has a big impact on the flavor of your coffee, so there is a wide range of flavors that you can make with this coffee brewing method.
This is something that you will have to experiment with and find what suits your taste the best.
Something that I think is interesting about this coffee brewing method is the water temperature. If you notice, it’s much lower than the recommended normal of 195°F-205°. The instructions recommend to use water at temperatures of 165°F – 175°F (75 to 80°C).
This is something else that you can play around with, Warmer water tends to give your cup more body. Aerobie says that the lower water temperatures provide a smoother tasting cup.
I can see how this much control over so many variables can be a little intimidating and might discourage some who aren’t used to having this much power in making coffee but I promise you it really is not that hard.
Just know that you will probably make 3 cups that you don’t really like the taste of. That is perfectly fine just pay attention to the basics of how you have made each cup and make adjustments.
You should stop pushing just before all of the water has been expelled, if you push the water all the way out you will hear a distinct hiss.
for a cool look at the Aeropress and a championship recipe check this post out.
Tips:
- Change your cup’s taste by adjusting brew length(1-2 minutes) and the amount you stir.
- Adjust water temperature to change the flavor as well. You can brewer with much lower temperature water using this method.
- Great for outdoor use because it uses no electricity.
- Try both inverted and traditional method, see which cup tastes better.
Cold Brew
Instructions:
- Figure out your ratio(For cold brew I have used ratios between 4:1 and 8:1 ex. 320 grams water/40 grams water.)
- Grind your coffee to a coarse grind
- Combine grounds and water(how you do this will change based on brewer)
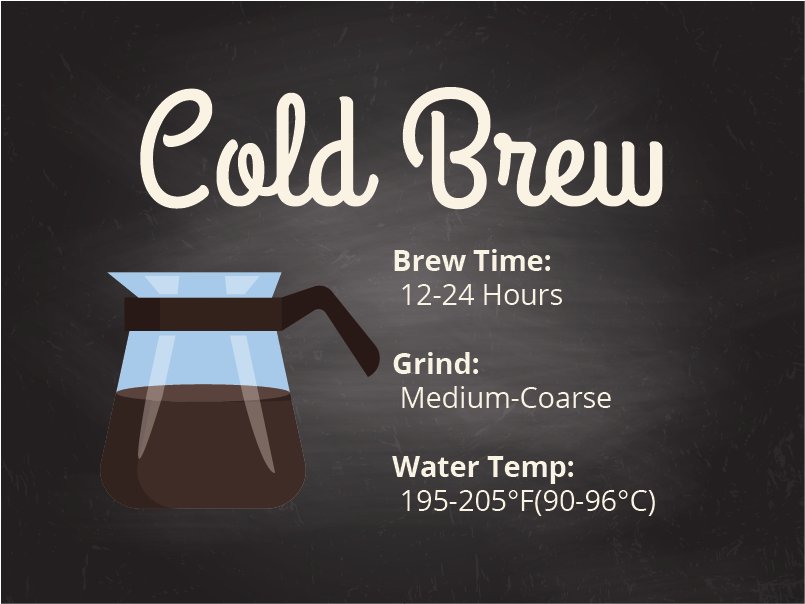
- Let steep at room temperature or refrigerated for 12-24 hours
Cold brewing is becoming more and more popular these days. The same process of brewing is happening, water is still extracting all of the goodness out of the beans but because the water is not warm it just takes a lot longer.
The guys at hand ground have a really great article on cold brewing. Did you know that there are multiple ways that you can cold brew and that all of them will give you a different tasting cup of coffee?
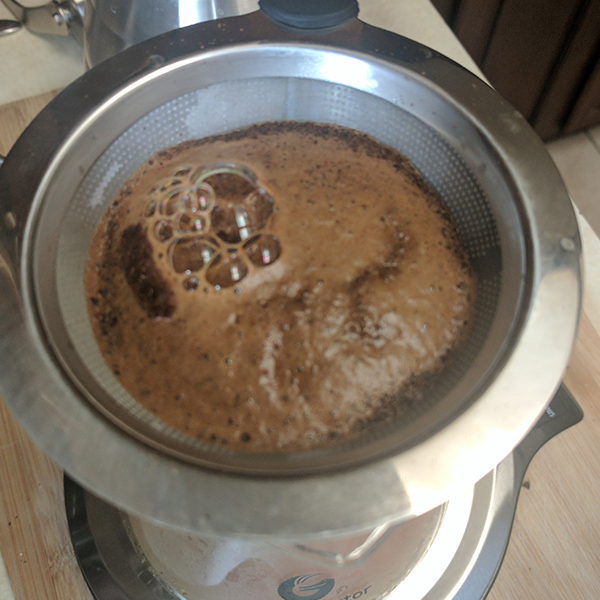
Immersion cold brewing is the most popular method for making cold brew coffee and for a good reason. It’s super easy. You only need basic tools like: coffee, a container, water and a strainer.
With immersion brewing you simply add your grounds and water together, let them brew for 12-24 hours and then strain the grounds out of the water. Coffee brewed with this method are generally well balanced without a lot of acidity or bitterness.
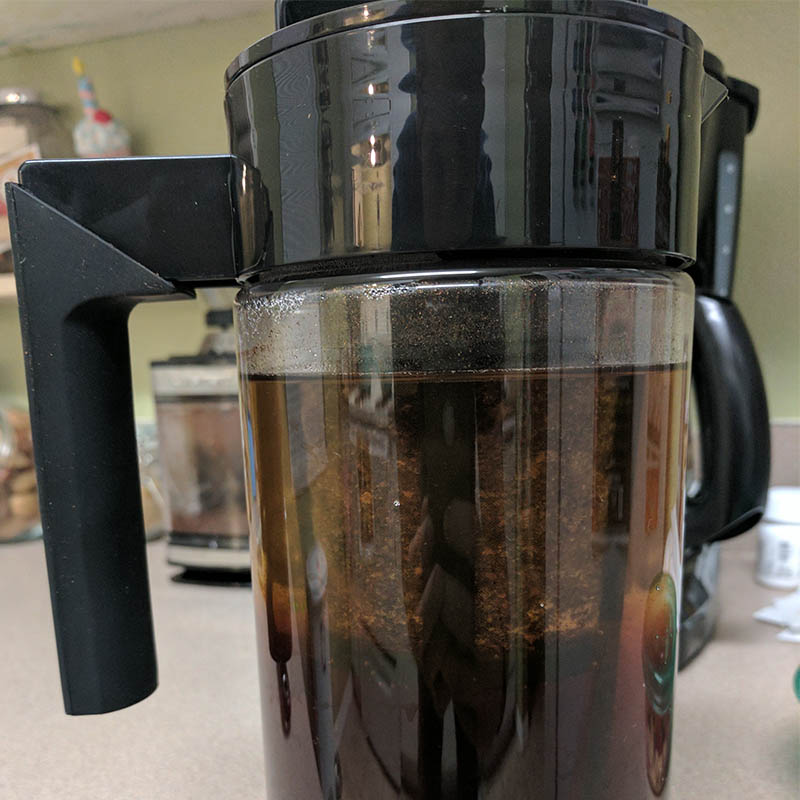
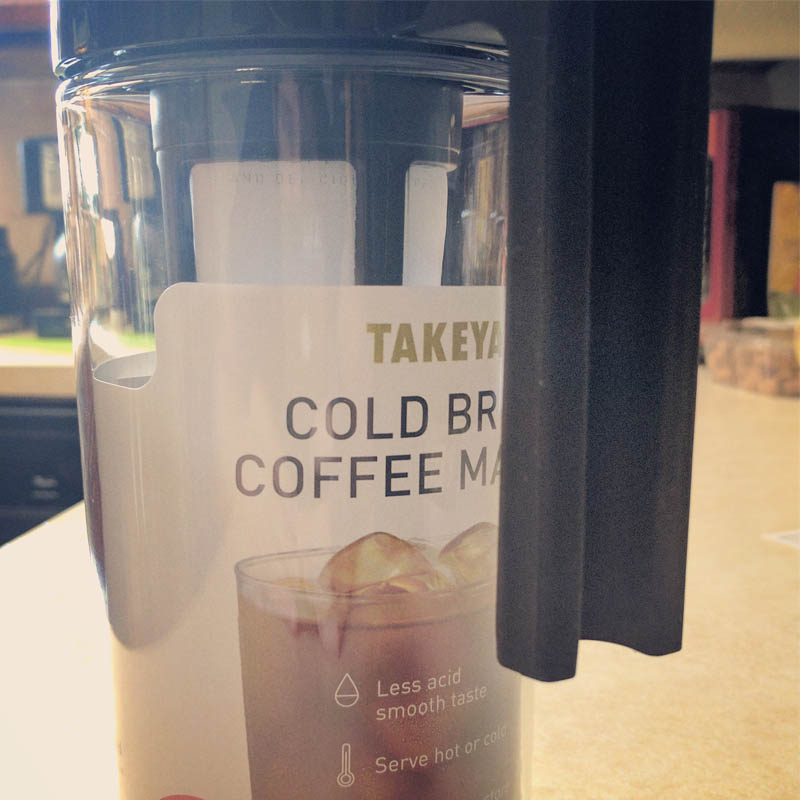
If you do want to buy a cold brew coffee maker there are a couple different ways of doing the immersion brewing method. I have the Takeya cold brew maker, it’s available pretty cheap on amazon.
But there are many other ways of brewing coffee this way, including a sock or you can even use a french press!
There is also the fancy way of making cold brew coffee with these crazy looking things called slow drip cold brewers
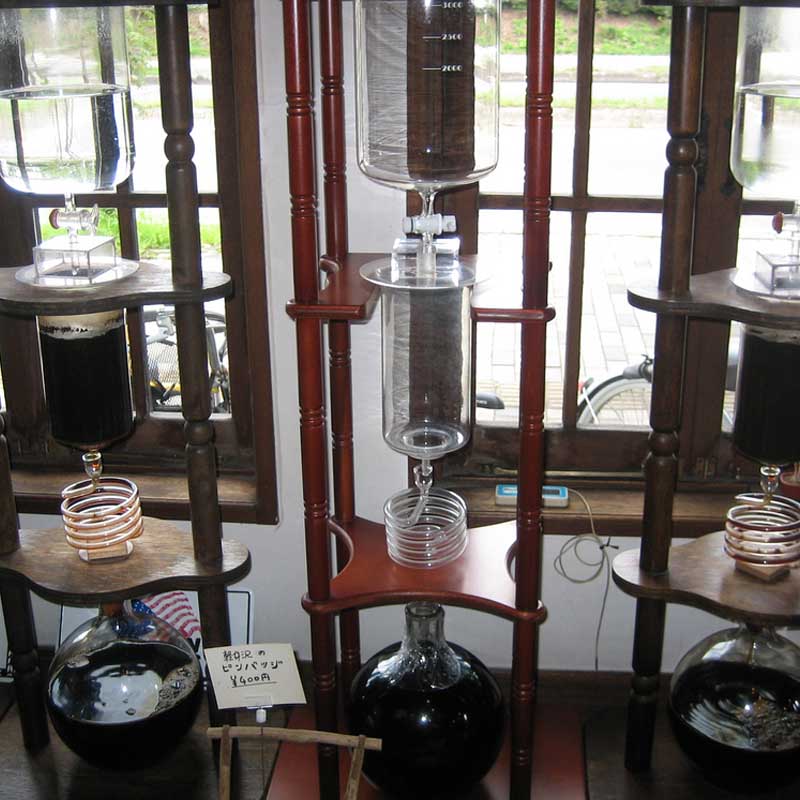
Brewing coffee with these kind of cold brewers requires you to have a lab coat and goggles, just kidding but it does require you to plan and a little bit of tinkering.
These brewers take 12-24 hours to make perfect coffee. The great things about these brewers is the amount of control you have. You can literally control the brew time by amount of drops that flow in at one time.
The coffee community agrees that when you brew coffee this way you get a much brighter tasting cup of coffee.
This give you a different flavor than the immersion techniques because water actually flows through the grounds and doesn’t steep in the grounds for the full brew time.
If you have an aeropress, the guys at Uel Zing Coffee have put together a great guide on how to build your own drip maker with just an aeropress and a water bottle. It’s awesome!
Tips:
- If you want a stronger coffee, grind your coffee a little finer. But if you’re using a method that involves a filter make sure that your grounds won’t just slide right through.
- Adjust your grind size and brew time to adjust flavor
- If you want a brighter tasting, more acidic cold brew use a drip cold brewer.
Take Aways
There are still a number of other brewing methods available to you, I covered these because I believe these are the most popular ones that can help the normal coffee drinker.
I suggest trying all of the different brewing methods here and see how you taste each one differently. Nobody can tell you which one you’re going to like the most except yourself.
No matter the coffee brewing method, there are a few simple basics that you can follow to ensure you get the best tasting cup. Check this out if you’re looking for more tips on brewing a better cup of coffee.
There are tons of other coffee brewing methods out there too, Moka pot, percolator, cowboy coffee, vacuum brewer, cold brew. Which one do you want to hear about next? Leave a comment, email or message me!